

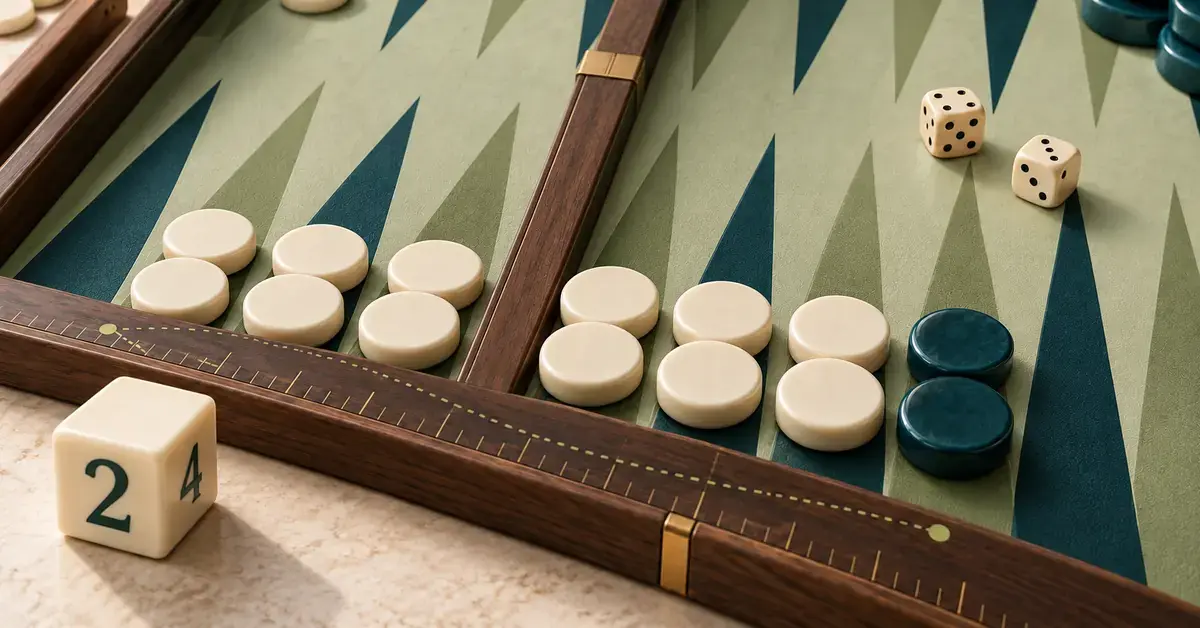
Backgammon looks like a dice game, but the dice only hand you the raw material — the decisions are what win and lose games. Strong players rarely roll better than weak ones; they just turn the same numbers into better positions. This guide assumes you already know the board, the dice and how to bear off, and focuses on the three skills that separate a casual player from a dangerous one: counting pips to measure the race, building a prime to trap your opponent, and handling the doubling cube so you win more points per game. If you still need the mechanics first, read our guide to how to play backgammon and come back.
Key Points
- The pip count rules everything. Add up how far all your checkers must travel; both sides start at 167. Ahead means race, behind means fight.
- Build around the 5-point. A prime of consecutive made points traps enemy checkers — a six-point prime cannot be jumped by any die.
- Use the doubling cube. Double when you are clearly ahead but the game is still live; take a double when you have about a 25% chance to win or better.
- Mind the gammon. Gammons double the stake and backgammons triple it, so strong gammon chances change every cube decision.
- Pick one plan. Race, blitz, prime or holding/back game — commit to the plan your position supports instead of mixing them.
What separates backgammon strategy from luck?
Backgammon strategy is the art of reading a position and choosing the plan that gives the dice the most ways to help you. Luck decides a single roll; strategy decides which rolls count as good ones. A player who has already made the right points turns far more of their 36 possible rolls into useful moves than a player with scattered, exposed checkers.
Every position is really two games layered on top of each other. The first is the checker play — where you move your 15 pieces. The second is the cube — the decision about whether to raise the stakes. Beginners obsess over the first and ignore the second, yet studies of expert play show cube decisions swing more points over a session than checker errors do. Good backgammon strategy means getting both right, and the glue that holds them together is the pip count. (Unfamiliar with a term below? Our board game glossary defines the basics.)
Pip counting: the number behind every decision
The pip count is the total number of points all your checkers must still travel to come home and bear off, and it is the single most useful number in the game. It tells you, at a glance, whether you are ahead or behind in the race — and that answer drives almost every other choice, from whether to run or hit to whether to double.
How do you count pips in backgammon?
Number the points from your own bear-off tray: the checker nearest home sits on your 1-point, the farthest on your 24-point. A checker’s pip value is simply the point it stands on. Multiply the number of checkers on each point by that point’s number, then add everything up.
At the start of the game each side has a pip count of 167. That comes from the opening position: two checkers on the 24-point (48 pips), five on the 13-point (65), three on the 8-point (24) and five on the 6-point (30). Both players begin dead level, so from the very first roll the race is on.
A useful anchor fact: a turn moves you about 8 pips on average (precisely 294 divided by 36 possible rolls, or 8.17), because doubles move four checkers instead of two. If your count is 24 pips lower than your opponent’s, you are roughly three rolls ahead in the race.
What does the pip count tell you to do?
The pip count tells you which of two broad strategies to adopt. If you are ahead in the race, simplify: run your back checkers home, avoid contact and turn the game into a pure foot race you are winning. If you are behind, do the opposite — keep contact, hold anchors and look for a hit or a prime, because a straight race is a race you lose.
The count also drives doubling in a pure race (no contact left, just two sides running home). A widely used rule of thumb from race specialists such as Douglas Zare and Chris Bray centres the doubling window on a roughly 10% lead:
- Double when your lead is about 10% of your own pip count, minus two pips.
- Redouble (when you already own the cube) with a slightly bigger lead — 10% minus one pip.
- Take your opponent’s double as long as you trail by no more than about 10% plus two pips.
Worked example: your count is 100. Ten percent is 10, so you have a double once you lead by about 8 pips, and your opponent should accept until they trail by about 12. These are guidelines, not laws — shorten them in very short races, where a single joker swings everything.
Why the raw count can mislead: crossovers and wastage
Two players with the identical pip count can have very different real chances, because how your pips are distributed matters as much as how many you have. The culprit is wastage — pips stacked uselessly deep in your home board. Five checkers piled on your 1-point count the same as five spread across your 2-, 3-, 4-, 5- and 6-points, but the stacked position bears off far more slowly because you keep wasting large numbers on short moves.
For checker-play decisions during the bear-in and bear-off, many players switch to crossovers — the number of times a checker still has to cross from one quadrant of the board to the next. It is faster to count than pips and better reflects how many rolls you truly need. A common rule of thumb: if you trail by two or fewer crossovers, play safe; if you trail by five or more, take risks and leave a blot if it speeds you up; three or four is a judgement call.
Priming: building a wall your opponent can’t cross
A priming strategy aims to trap one or more of your opponent’s checkers behind a wall of made points so they cannot escape while you bring your own men home. It is the main plan when you are behind in the race, because a trapped checker is worth far more than a few pips of lead.
What is a prime?
A prime is a run of consecutive made points — points occupied by two or more of your checkers, which your opponent may not land on. A checker stuck behind a prime can only jump out with a die big enough to clear the whole wall:
- A four-prime (four points in a row) lets the trapped checker escape with a 5 or a 6.
- A five-prime blocks five of the six die faces — only a 6 escapes.
- A six-prime is the perfect wall: it spans all six numbers, so no single die can jump it. A checker behind a full six-prime is completely stuck until you are forced to break the wall.
The most valuable single point is the 5-point in your home board, nicknamed the “golden point,” because it is the keystone most primes are built around. Making it early is a big strategic win.
How to build and hold a prime
Primes are usually built across the “golden zone” from your 4-point to your bar-point (the 7-point). Aim to make these inner and bar points before chasing hits elsewhere, and prefer plays that make a new point over plays that merely pile spare checkers on points you already own. Spare checkers above the prime are ammunition: they let you extend the wall forward one point at a time, “rolling” the prime toward your home board while the trapped checker stays stuck.
The hard part is holding a prime once a checker is trapped behind it. Every turn you must play your numbers without being forced to break a point and open an escape. Keep spare checkers in reserve so you always have a safe move, and do not break the wall until you can bring the trapped checker’s owner no benefit — ideally not until you are ready to bear in.
Prime versus prime
When both players trap a checker behind a wall, you get a prime-versus-prime battle, one of the tensest positions in the game. You win it one of two ways: escape your opponent’s prime before they escape yours, or force them to crack — to break their own wall because the dice leave no other legal move. The player whose prime is longer, further advanced and better supplied with spares usually wins the staring contest. Timing is everything: avoid burning your spare checkers early, because the side that runs out of safe moves first is the one who has to open the door.
The doubling cube: backgammon’s second game
The doubling cube turns backgammon from a dice game into a game of nerve and arithmetic. It is a six-sided die marked 2, 4, 8, 16, 32 and 64 that tracks the stake in points. Before rolling, the player who feels ahead may “double” — offer to double the stake. The opponent must either drop (concede the current stake at once) or take (accept, play on for double, and — crucially — gain sole ownership of the cube, so only they can double next).
When should you double?
Double when you are clearly ahead but the game is not yet decided. There is a window: offer the cube once you have a real, meaningful advantage, but before your lead becomes so large that your opponent will simply drop. Double too early and you hand away the cube for little gain; double too late and your opponent folds before you can cash your edge.
A famous practical guide is Woolsey’s rule, named after writer Kit Woolsey: if the take-or-drop decision looks genuinely close to you, you should double. The reasoning is that a close decision is exactly where your opponent is most likely to get it wrong — and whichever way they err, you profit. The opposite trap is a position so strong you should not double at all: if you are almost certain to win a gammon (a double-value win), you are “too good to double” and should play on for the bigger score rather than cash a single point.
When should you take, and when should you drop?
Take the double whenever your winning chances are roughly 25% or better. The maths is simple: dropping costs you one point for certain, while taking lets you play on for two. Below about 25% wins, the long-run loss from playing on outweighs the single point you save by folding; above it, taking is the better bet. This 25% figure is the classic “dead cube” estimate.
In practice the take point is often a little lower — closer to 20% — because after you take you own the cube and may redouble later, a valuable option the raw 25% figure ignores. Adjust the other way, though, when gammons are a real threat: if losing probably means losing double, you need more winning chances to take, because a loss now costs you more than one point.
Gammons, backgammons and the cube
Gammons multiply everything the cube does. A gammon (your opponent bears off nothing) is worth double the cube value; a backgammon (they also have a checker still in your home board or on the bar) is worth triple. That is why a blitz — an all-out attack to close out a checker on the bar — is so dangerous with the cube already turned: a win is likely to be a gammon, so the stake balloons. It also shapes doubling: strong gammon chances push you to double earlier (you are playing for more), while they push your opponent to drop sooner (a take risks losing double). Keep the gammon threat in view on every cube decision, not just the win-or-lose odds.
Choosing a game plan
Most backgammon games settle into one of a handful of plans. The pip count usually tells you which one fits: ahead, you race; behind, you fight. The skill is recognising the plan early and committing to it, because a half-hearted mix of attack and retreat tends to lose to both.
Game Plans Compared
| Plan | Use it when | Core idea | Main risk |
|---|---|---|---|
| Racing game | You lead in the pip count | Avoid contact, unstack and run your checkers home | Leaving a needless shot that gets hit |
| Blitz | You hit early with a strong home board | Attack and close out a checker on the bar for a gammon | Stalling with your own checkers exposed |
| Priming game | You trail but trap a checker | Build a 4- to 6-point wall and roll it home | Being forced to break the wall (cracking) |
| Holding / back game | You are behind in the race | Sit on an advanced anchor and wait for one good shot | Poor timing — running out of safe moves |
The four plans flow into one another as the game develops. A blitz that stalls often becomes a priming game, because the checkers you used to attack become the wall that traps. A holding game — sitting on a high anchor such as your opponent’s 5-point (the “golden anchor” on your 20-point) — waits for a single shot as your opponent is forced to break down. The back game, holding two anchors deep in your opponent’s home board, is the last resort when you are far behind: it trades near-certain loss of the race for one big hit, and it is hard to time well. Pick the plan your position supports, not the one you wish you had.
Opening moves and everyday checker-play principles
The best opening roll is 3-1, played 8/5 6/5 to make your 5-point — the golden point — on the very first turn. It is the strongest inner-board point and the keystone of future primes, which is why it tops every computer and expert ranking of opening plays. Other point-making rolls (4-2 makes the 4-point; 6-1 makes the bar-point) are also clear-cut. Non-doubles that make no point are usually played by splitting your back checkers to fight for an advanced anchor or by bringing a builder down from your midpoint.
A few principles apply on almost every roll:
- Make points, especially inner-board points. A made home-board point both blocks your opponent and makes any future hit far more painful for them.
- Fight for an advanced anchor when you are behind, especially the 20-point. It keeps you safe from attack and gives you a base to hit from.
- Hit when it gains ground or time — sending a checker to the bar costs your opponent pips and a tempo — but do not hit loosely when it only exposes your own blots for no race gain.
- Play the race when you are ahead. Duck contact, unstack and run. These broad ideas echo the cross-game advice in our board game strategy tips: plan ahead, weigh risk against reward, and adapt to the position in front of you.
Common backgammon strategy mistakes
The fastest way to improve is to stop making the errors below — they cost far more than any single unlucky roll.
- Never counting pips. If you do not know who is ahead in the race, you cannot choose the right plan or make a sound cube decision. Count at every key moment.
- Playing too safe. When you are behind, refusing to leave any blot just guarantees you lose the race. Behind means you must take risks to create a chance.
- Playing too loose when ahead. The mirror error: leaving unnecessary shots while winning the race hands your opponent the hit that turns the game.
- Never turning the cube. Many players win plenty of games but few points because they never double. If you are winning two games out of three and never cash that edge, you are leaving points on the table.
- Dropping takeable doubles (or taking hopeless ones). Anchor your decision to the 25% rule rather than to how the last game felt.
- Breaking a prime too early. Cashing a wall for a small gain releases the trapped checker that was your whole advantage. Hold the prime until you must break it.
Backgammon rewards study more than almost any classic game, because the same situations recur endlessly. For the broader principles that carry across every title, see our pillar on board game strategy.
Sources
- Backgammon Galore — Opening Rolls analysis (Tom Keith)
- Bill Robertie, “Mastering Backgammon” — opening plays
- Backgammon.com — The Doubling Cube
- Backgammon.com — When to Double
- Backgammon.com — Building a Prime
- Douglas Zare — Cube Handling in Races / Effective Pip Count
- Backgammon Galore — Glossary of Terms
Frequently Asked Questions (FAQ)
What is the most important skill in backgammon strategy?
Pip counting. Knowing who is ahead in the race decides almost everything else — whether to run or hold, whether to build a prime, and whether to double, take or drop. Everything from checker play to the cube flows from that single number.
When should I double in backgammon?
Double when you have a clear, real advantage but the game is not yet decided — before your opponent is certain to drop. A handy guide is Woolsey’s rule: if the take-or-drop call looks close to you, double, because a close decision is where your opponent is most likely to err.
When should I accept a double?
Take whenever your winning chances are about 25% or more, because dropping costs a point for certain while taking lets you play on for two. You can take a little lighter — nearer 20% — when you will own the cube afterward, but you need more than 25% when a loss is likely to be a gammon.
What is a prime and why does it matter?
A prime is a run of consecutive made points that an opponent’s checker cannot jump. A six-point prime blocks every die face, so a checker trapped behind it is completely stuck. Building a prime is the main way to win when you are behind in the race.
What is the best opening roll in backgammon?
3-1 is considered the best, played 8/5 6/5 to make your 5-point — the “golden point” — on the first turn. It is the strongest inner-board point and the foundation of most priming and blocking plans.
